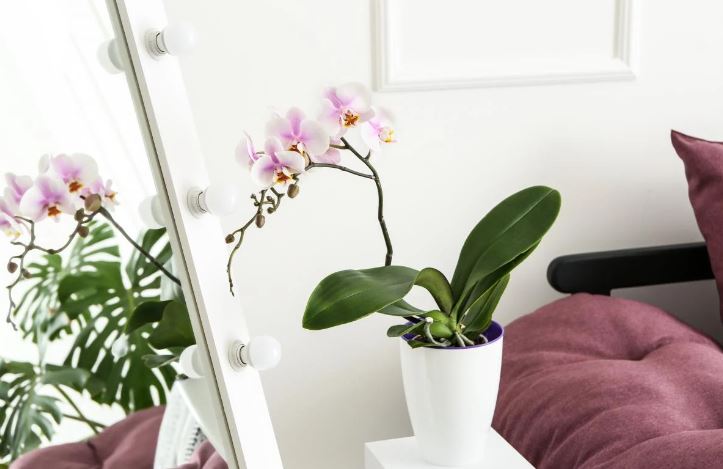
The blooming orchid is a true decoration of the home garden. This flower grows in many apartments, but, like other crops, periodically needs replanting.
Why do you need to transplant an orchid into the new soil
Experienced gardeners say that it is necessary to transplant the flower into new soil for several reasons:
- 1 to 2 years after purchase in the store, as the soil will rot during this time;
- If the soil in the pot remains wet for 1-2 weeks;
- If you notice that the root system has been affected – it has turned black and the leaves have turned yellow;
- If the roots have grown out of the pot.
If your orchid is blooming, the leaves are not yellowing or wilting, and the plant itself feels good, there is no need to touch it. This appearance indicates that the flower will safely live in the existing container for another couple of years.
When to transplant the orchid into a bigger pot – tips
After the orchid begins to bloom, it has new leaves and roots. Most often this happens in February, and if the orchid has not bloomed, then in the spring. In summer and winter, the flower can not be transplanted – it is in a dormant state.
Choosing a new pot, give preference to copies that are at most 5 cm larger than the previous container. Too big is not worth taking, because, firstly, if the pot will be a lot of soil and few roots, the soil will be caked, and the air exchange is hampered, which can lead to the death of the roots and the plant itself. Secondly, large pots increase leaf and root growth, but flowering slows down.
Proper transplanting of an orchid – step-by-step instructions
The most common option for an orchid container is to transplant it into a plastic pot with a diameter of 12 cm. Orchid roots are capable of photosynthesis, for this, they need sunlight, which passes through a transparent pot, unlike all other types of containers. A very small flower can be planted in a plastic cup, making drainage holes in it.
The technology for transplanting the flower is as follows:
- water the soil in the old pot and carefully remove the orchid;
- clean the roots from the remains of moss, dirt, and other unnecessary organic matter;
- immerse the orchid in warm water for 30 minutes;
- Remove withered and rotted roots, untangle them if they are tightly knotted;
- air dry the flower for 6 hours.
Soil for the orchid is better to buy in a specialty store and pour into the pot before the plant is there. The pot itself should be placed in hot water to soak up the substrate. Leave it overnight, then drain it. Wash the pot, pour drainage on the bottom, place the plant in the pot, and fill it with soil.
After transplanting, place the orchid in the shade, periodically sprinkle the leaves with water, and watering is best done 4-5 days after transplanting. After a month, you can apply the first fertilizer.