Contents
show
Ghee – Clarified Butter
The perfect ghee – clarified butter recipe with a picture and simple step-by-step instructions.
- 1000 g Butter
- 1 Pot of appropriate size
- 1 Wooden trowel
- 1 Slotted spoon
- 1 Fine hair sieve possibly
- 1 Tall, heat-resistant container for filtering
- 1 Large sieve for filtering
- 2 Towels kitchen paper for filtering
- Vessels for the finished ghee
- …..Und etwas Geduld !
Preface:
- Ghee is a modern all-purpose fat, which actually comes from Indian and Pakistani cuisine and has been used there as an edible fat for thousands of years. In Ayurvedic teaching, ghee is even said to have miraculous powers. It is said to make food easier to digest in Ayurvedic cuisine and is only used there. From a medical point of view, it is said to have a detoxifying effect, promote concentration and help against anemia ………… Well then. To be without adherents of Ayurvedic teachings, it is well tolerated by all those who have a milk protein and lactose intolerance. By repeatedly skimming off the resulting foam when simmering, milk protein and milk sugar are removed. The remaining fat is a “subspecies” of clarified butter. This not only makes it easier to digest for allergy sufferers, it is also a good alternative to conventional butter. Another plus point is that it can be heated more than butter. The risk of burns is only at 205 °.
Preparation step 1:
- Put the butter pieces in the correspondingly large saucepan and heat up on a low flame (let them melt completely). Always stir.
Step 2:
- Now slowly heat the butter so that it simmers very gently. (Determine the temperature yourself according to your own stove). Stirring occasionally. The success of ghee making depends crucially on how patient you are at the beginning. Under no circumstances should you work too quickly with excessive heat.
Step 3:
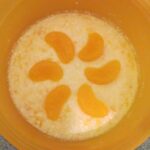
- While simmering, a whitish foam forms on the surface. This must now be carefully skimmed off again and again. Stir everything every now and then so that no sediment forms. If skimming off with the ladle is not so easy (the foam may slip through the holes), simply use the fine hair strainer. Depending on the amount of butter, this can take 1 to 1.5 hours.
- The white foam is mainly caused by the protein in the butter. Simmering causes it to flocculate and can therefore be removed. The butter becomes “clear”.
Step 4:
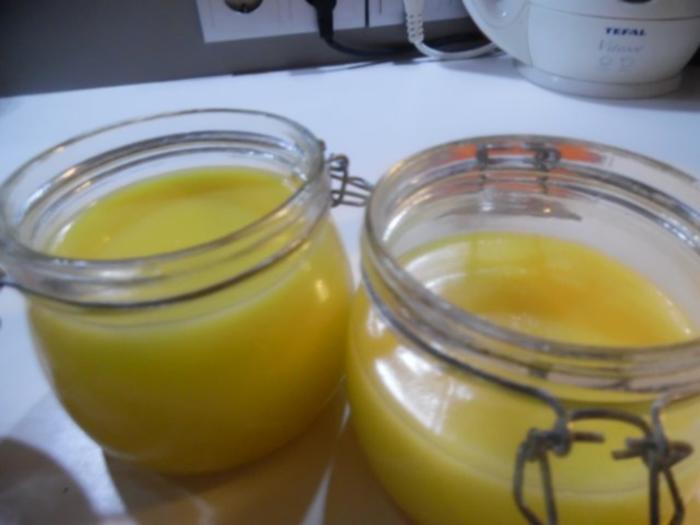
- When the butter is clear – a slight sediment does not harm anything – it should be filtered at least twice. To do this, put a layer of kitchen paper in the large sieve, place it on the high, heat-resistant container and carefully pour the hot ghee into it. When everything has run through and drained, repeat the process with a new piece of kitchen paper. That should be enough. Be careful, because the liquid fat is very hot. It now has a golden yellow color and is very clear (similar to clear apple juice).
- Now you can fill it into the provided container and let it cool down openly. It then turns milky yellow and solid. Then close it well. It has a very long shelf life due to the low water content. Unrefrigerated (i.e. only in the pantry) it will keep for approx. 9 months, in the refrigerator for up to 15 months.
Tip:
- If there is ghee left over after frying it in the pan, you can simply filter it again and pour it into a separate container to use it again. But you shouldn’t do this more than 2 times and of course also pay attention to the flavor of the already fried / deep-fried dishes.
- The above personal information relates to portions. I made 700 g of ghee from 1000 g of butter.

Facebook Comments