Contents
show
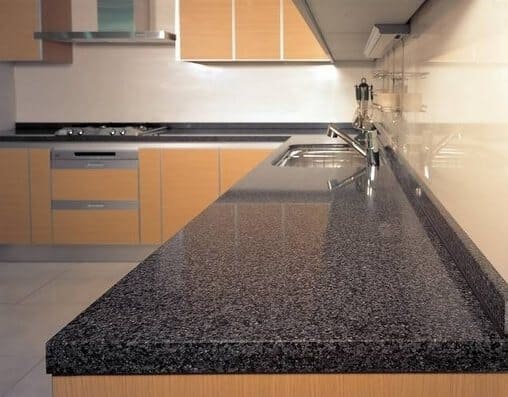
Connecting worktops – A guide
Would you like to redesign your kitchen? With careful planning, you can do this even without a furniture specialist. Before you get to work, get new kitchen furniture and have worktops sawn, measure your kitchen carefully. In particular, measure the dimensions for the worktop, which can also go around corners and must be connected there. We also show you the necessary tools in our picture gallery.
- For a new worktop, be sure to measure the exact dimensions at work height, as the walls can ripple slightly from floor to ceiling.
- This way you avoid surprises if the worktop suddenly doesn’t fit.
- Also pay attention to the 90-degree angles of the walls if you want to mount worktops across the corner. If the angles on the walls are not correct, you must adjust the worktops on the back side so that the kitchen furniture is correctly at a 90-degree angle.
- If you are planning a corner kitchen, you must decide how to connect the panels. There are two ways to do this.
Connect worktops butt
As a rule, the worktops have a rounded edge at the front edge. In the well-stocked hardware store there are intermediate sheets that cover exactly this curve on one side.
- First assemble one side of the (e.g. L-shaped) kitchen and attach the worktop provided.
- Then screw the intermediate sheet to the front of this panel at the point where a second worktop is to be flanged (the L-shape).
- The second worktop can now simply be attached, provided the dimensions are correct.
- Connect the construction on the underside with the help of two flat irons, which hold both worktop parts together with screws.
Customize worktop
The second variant is much more difficult to implement, as both worktop parts have to be sawn exactly at the connection point. If in doubt, get a professional involved.
- As can be seen in the picture, both worktop parts are first sawn with a curved saw cut, then with an exactly straight cut.
- For this you need precisely marked cutting lines and a very precise jigsaw with a fine saw blade and a saw guide (for the straight saw cut).
- Once you have carefully sawed both panels to size (the total length must still be correct), it is time to connect them using flat dowels or panel connectors.
- For biscuit dowels, you need a biscuit cutter that mills slots in both front sides of the worktop parts. Mill where the panels fit together.
- Precise marking is also important here.
- The flat dowels are glued on both sides and inserted into the milled grooves on the worktops.
- Alternatively, use panel connectors. This is usually what the professionals from the kitchen studio work with.
- Follow the instructions included with the plate connectors. Precise measurement and processing of the worktops is also important here.
- Drill the specified holes with a Forstner bit and then saw the bars. For most worktops, two of these panel connectors are sufficient for each connection.
- Finally, join both worktop parts together and screw the panel connectors tight. Make sure that the surfaces are level and have no steps.


Facebook Comments